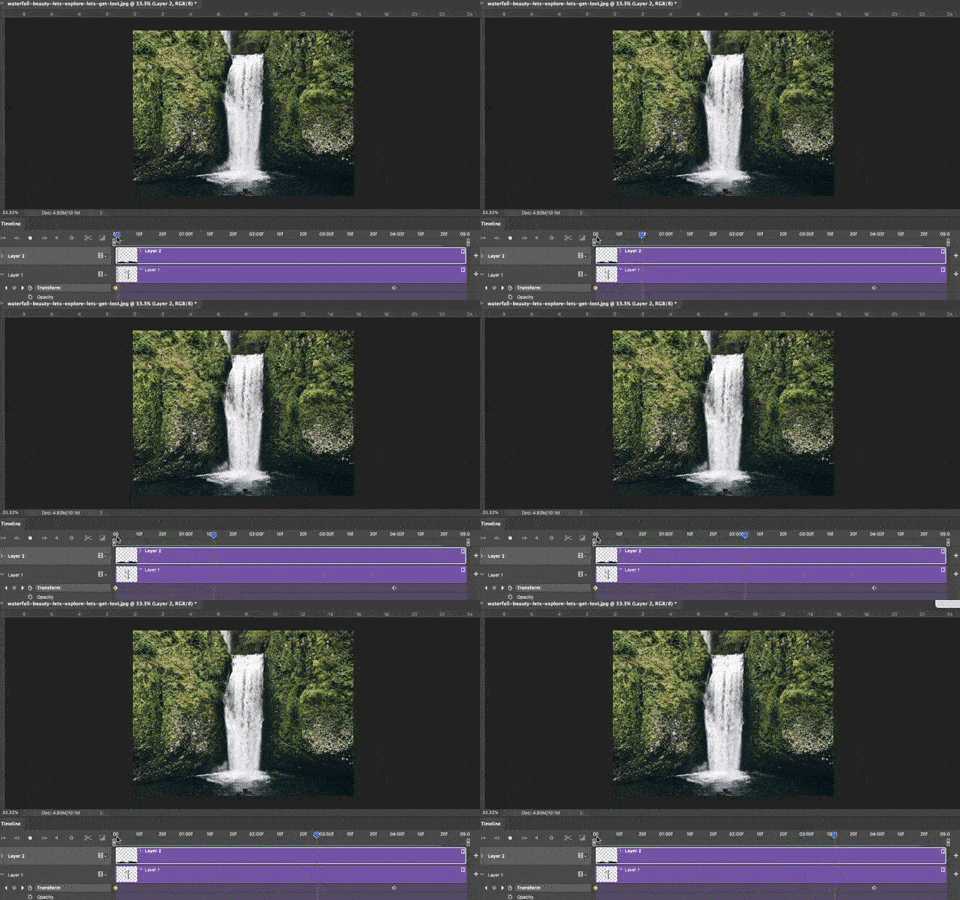
We got a lot of queries on how we did the recent animated still images for Instagram. Mind you, this isn’t Cinemagraph. Cinemagraph is a still image created from a video by retaining some moving parts to create an animated still image. This is not possible, when you have only frame to work with.
How to animate a still image
Step 1
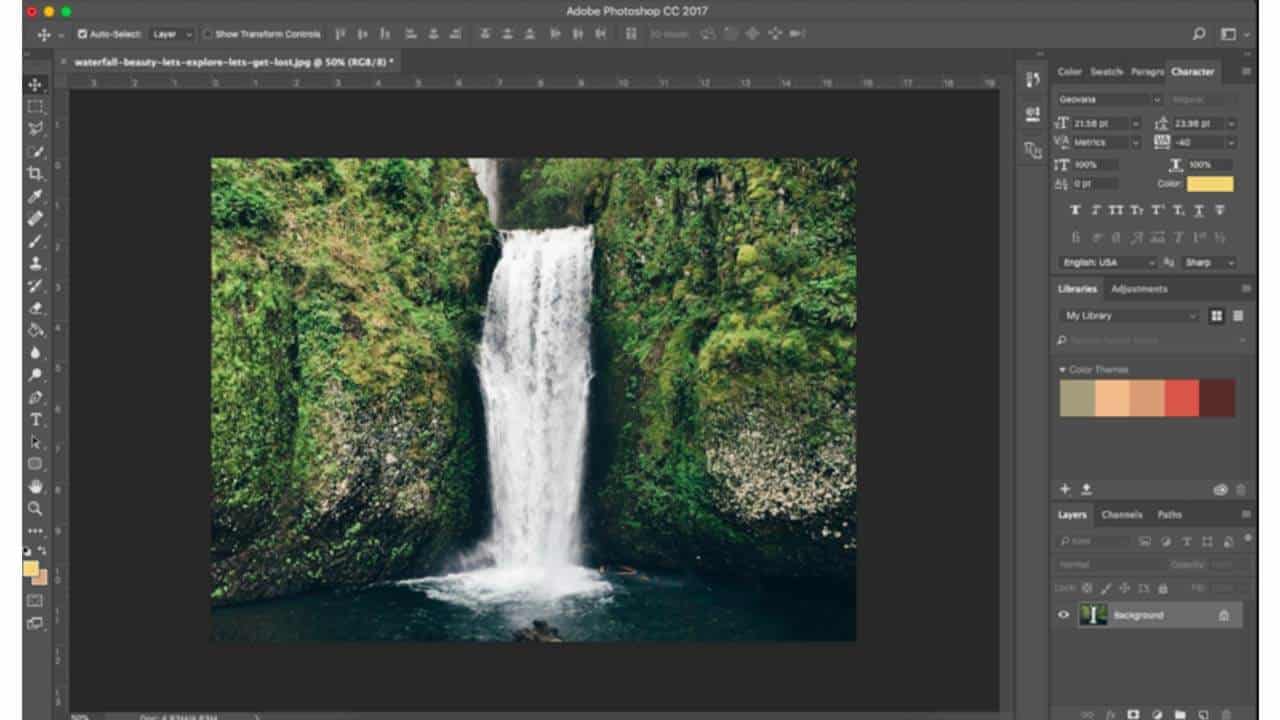
For this example, I am going to use this stock image of a waterfall.
Step 2
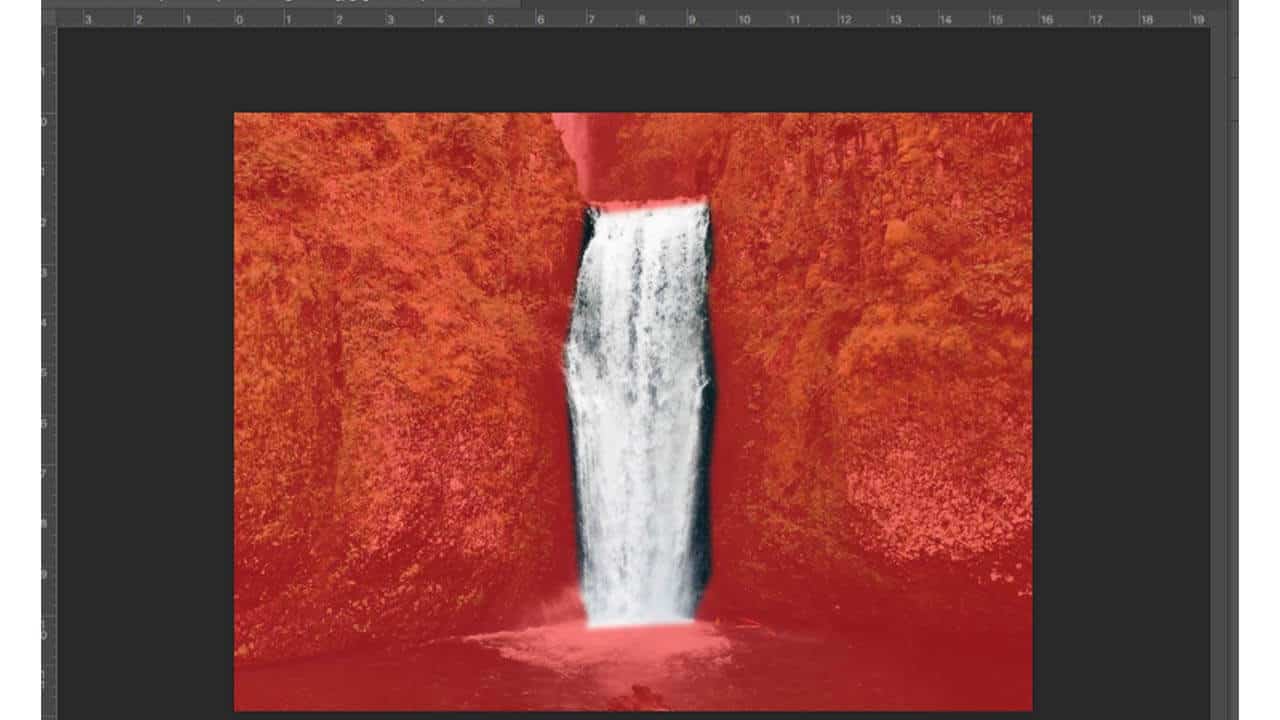
In Photoshop, Mask out the area you want to animate (In this case, the fall) and copy it to a seperate layer.
Step 3
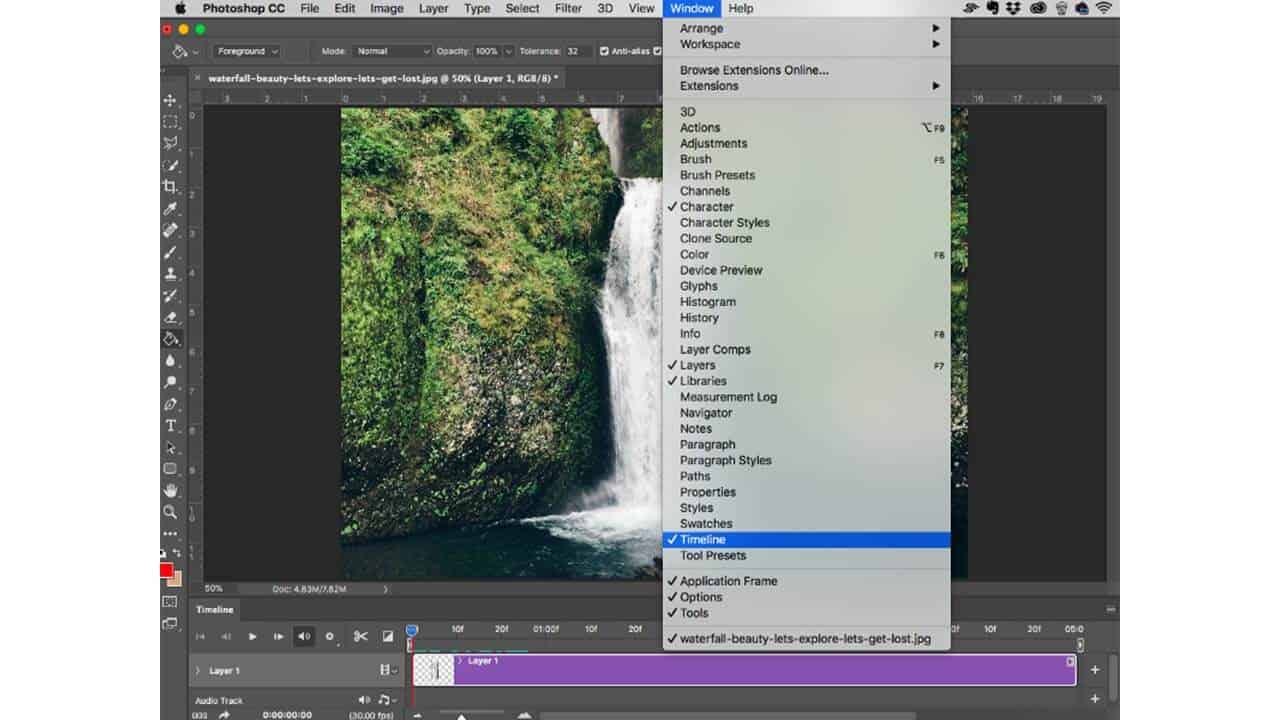
Go to Window>Timeline. A video timeline will appear on your photoshop workspace.
Step 4
By default, your layer will only have 3 basic parameters in the timeline and that’s not enough for this technique to work.

In the layers panel, select your layer and convert it to a smart object.

Step 5
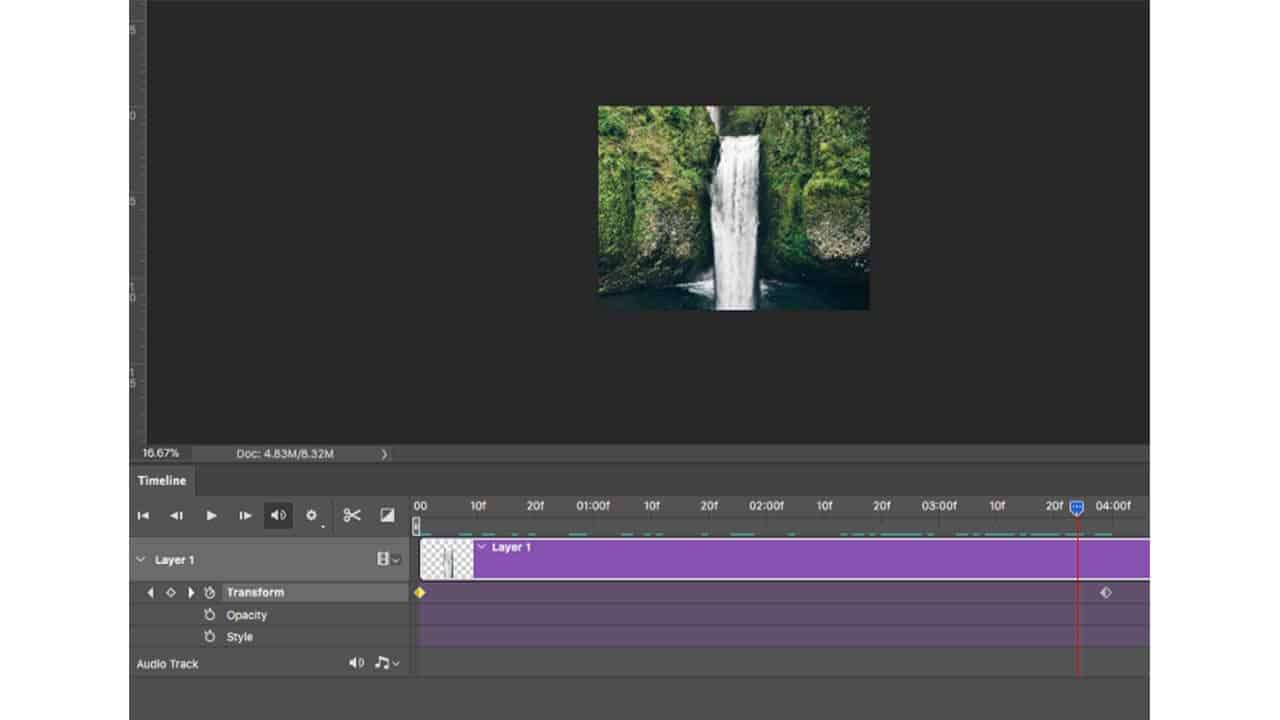
Now back in the timeline you can see a new set of parameters for your layer. We are going to use transform here. Move the playhead to the beginning of the timeline. Click on the stopwatch icon next to Transform. This will create a keyframe.

Step 6
Move the playhead to the end of the clip and in your workspace scale the waterfall layer towards the bottom in vertical axis. Create a keyframe there in the timeline.
Step 7
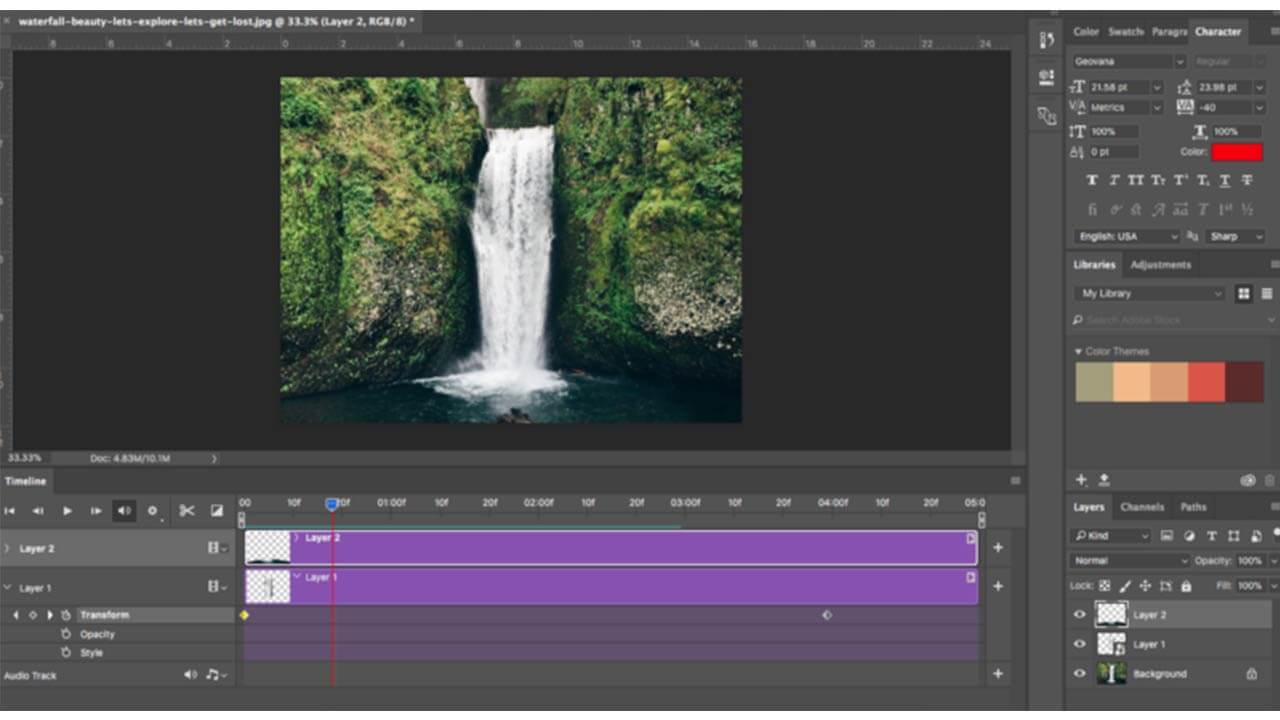
Mask out the bottom of the lake and put it on top of your animated layer so that the edge of the fall will not be visible.
Final Output
There you go! You have an animated still image. You can also duplicate the first clip and overlay it (with a transition) with the bottom clip in the timeline to create a perfect loop. Export it as an MP4 or GIF.
